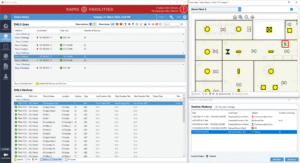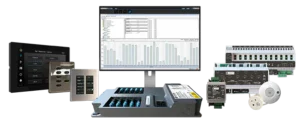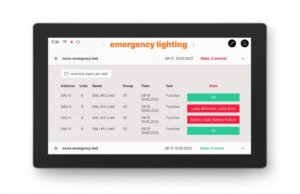
One of our favourite Visualisation servers is the Gira X1 in conjunction with the Gira S1 offering a full suite of functions including logic, scene and timer controls.
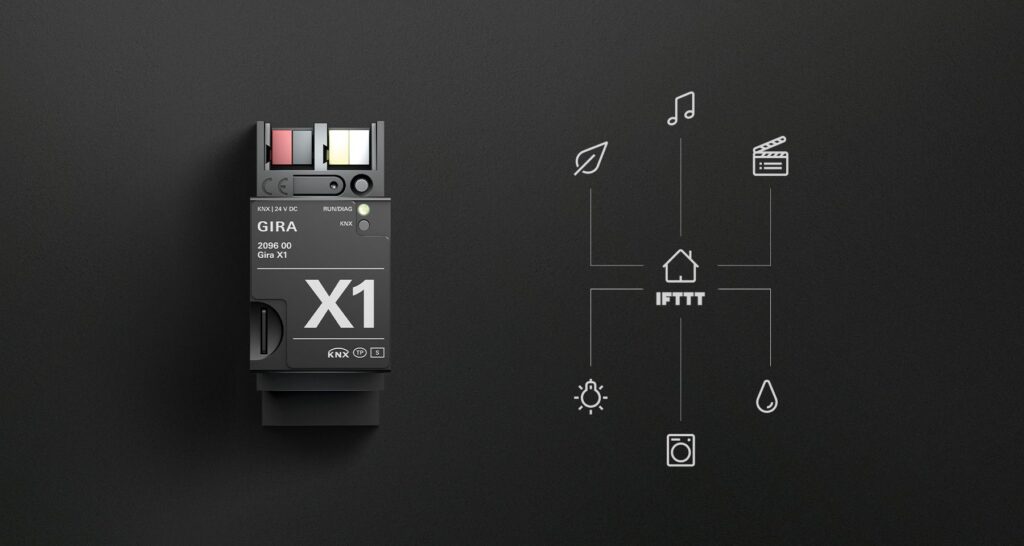
One of the newest features (2022) on the Gira Mini-Server platform is the introduction of (1) end user scene setup and configuration and (2) the use of NFC (Near Field Communication) to run same scenes.
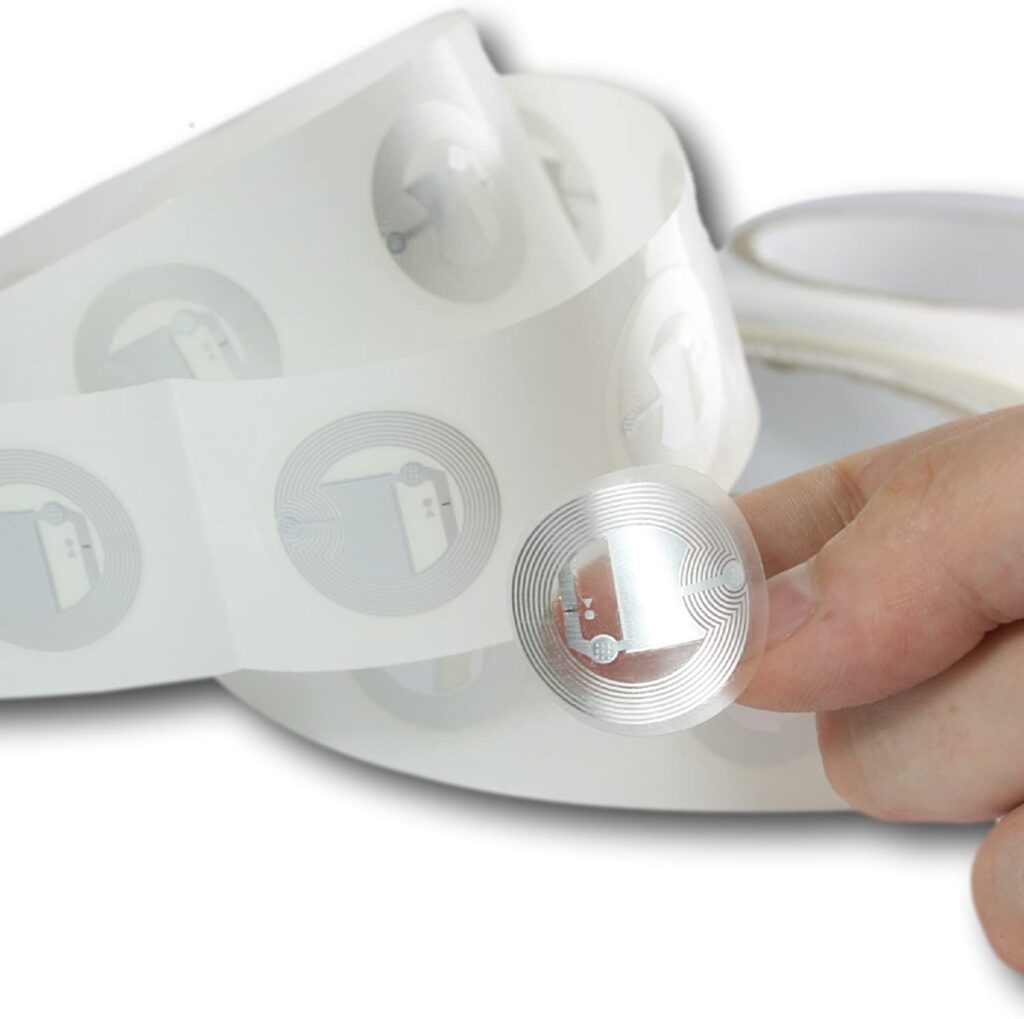
We were keen to get testing this new feature and on our early tests we trialled NFC Stickers as shown to the right. These stickers are a few pound on the marketplace and readily available.
During testing we placed a number of NFC tags around our testing suite and commenced setting up scenes including simple light on/off and more complex scenes for control of lights and security.
Verdict: Amazing new feature that can be very easily integrated into any KNX project even after project completion by the system integrator.
So how does the system work?
For more information and how you can integrate the Gira X1+S1 into your project, contact our sales team: [email protected]

